

7 Steps to Measure Cooler Interior Dimensions Correctly
Last Updated: November 18, 2026
Quick Summary
To measure cooler interior dimensions, empty the cooler and measure length and width at both the top rim and the bottom floor, then measure clear height from the inside floor to the underside of the closed lid. Subtract any intrusions from drain plugs, hinges, or latches, and always size the rack to the smallest rectangle you measured.
- Measure interior length and width at the top rim, since most hard-sided coolers taper and the opening is widest.
- If the bottom is smaller than the top, the rack must fit the bottom or it will jam halfway down.
- Measure cooler interior height with the lid closed, because open lids miss recessed panels that eat an inch or more.
- Cooler Racks stainless steel racks stand 7 inches tall, so you want at least that much clear height.
- Record every measurement to the nearest eighth of an inch and leave a small margin for plastic swelling.
Table of Contents
- Why Cooler Interior Dimensions Decide Whether a Rack Fits
- What You Need Before You Measure a Cooler
-
How to Measure a Cooler for a Rack in 7 Steps
- Step 1: Empty the Cooler and Note the Model
- Step 2: Measure Interior Length and Width at the Top
- Step 3: Measure the Bottom and the Narrowest Point
- Step 4: Measure Cooler Interior Height With the Lid Closed
- Step 5: Check Drain Plugs, Hinges, and Lid Latch Intrusions
- Step 6: Measure Irregular and Tapered Shapes
- Step 7: Confirm Clearance Before You Buy
- Fill-In Measurement Checklist
- Installation Sequence After You Buy
- Cooler Interior Height: How Much Room Your Food Needs
- Cooler Rack Size Guide: Matching Rack Dimensions to Your Measurements
- Cooler Insert Dimensions: What Else Changes the Fit
- Common Measuring Mistakes That Cost You a Return
- Check Your Numbers Against the Cooler Racks Fit List
- Frequently Asked Questions
Why Cooler Interior Dimensions Decide Whether a Rack Fits
A rack can only sit level and stay put if the cooler's inside walls hold it steady on all four sides. If you are new to racks, our guide to what a cooler rack is used for explains the basics before you measure. That is the whole game. Manufacturers list outside dimensions on the box, but the space your food actually occupies is smaller, and it is rarely a perfect rectangle. Most fit problems trace back to one skipped measurement, not a badly made rack.
Cooler interior dimensions are the usable measurements taken inside the cooler with the lid closed: length, width, and height, minus anything that sticks into that space. Get those numbers right and a rack drops in cleanly. Guess them and you are shipping something back.
Below, we walk through the exact measuring process we recommend before you buy any cooler shelf or storage rack.
What You Need Before You Measure a Cooler
You need three things: a tape measure, a notepad, and an empty cooler. A rigid ruler helps for the bottom corners, where a floppy tape bends and lies to you.
Here is your full kit:
- A tape measure long enough to span the cooler's longest side
- A stiff ruler or straight edge for depth checks
- A pencil and paper, or your phone's notes app
Skip the string-and-mark method. It stretches, and a stretched string turns a snug fit into a loose one.
How to Measure a Cooler for a Rack in 7 Steps
The process takes about ten minutes and follows a fixed order. Work top-down, then check the bottom, then check for intrusions. Each step catches a different way a rack can fail to fit. Below the steps you will find a fill-in measurement checklist and an installation sequence so the numbers turn into a rack that sits level.
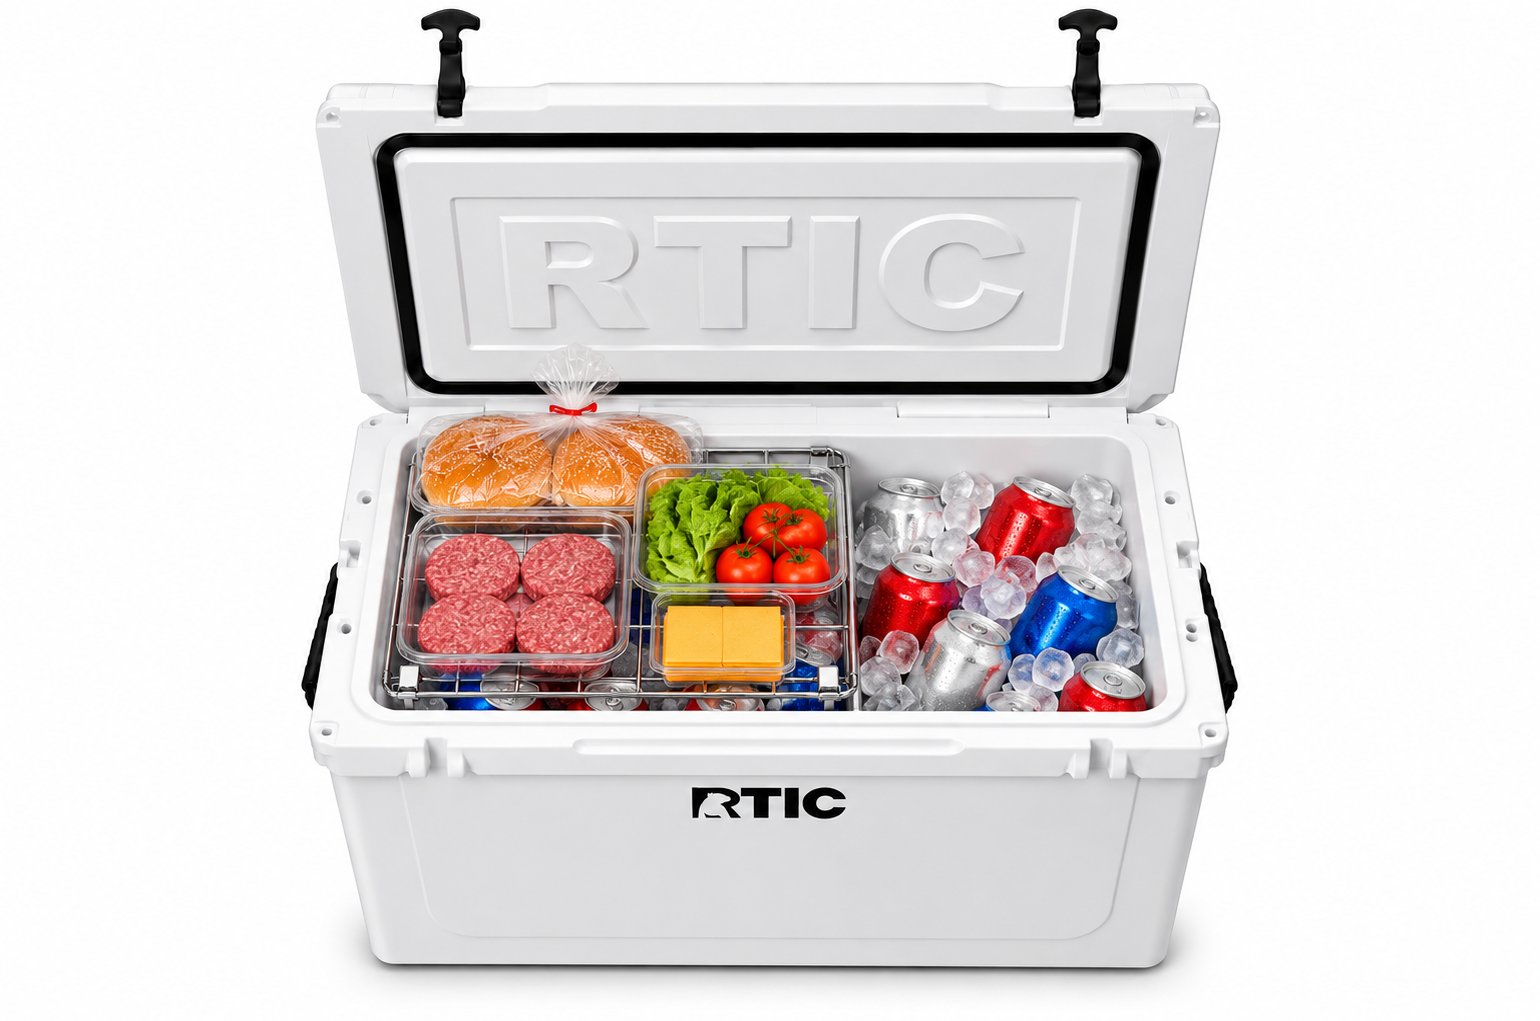
Step 1: Empty the Cooler and Note the Model
Pull everything out, including the basket and any dividers. Then write down the model number before you touch the tape.
That number matters more than you think. Many rack makers publish a fit list by model, and Cooler Racks™ stainless steel racks are verified to fit 86 cooler models. If your model is on the list, the measurements confirm it.
Step 2: Measure Interior Length and Width at the Top
Hook the tape on the inside wall at the top edge, then read across to the opposite inside wall. Do this for both length and width.
Measure at the rim, not down in the belly. Most hard-sided coolers taper, so the top opening is the widest point. Record both numbers to the nearest eighth of an inch.
Step 3: Measure the Bottom and the Narrowest Point
Now measure the same two directions at the floor of the cooler. Compare against your top numbers.
If the bottom is smaller, the rack has to fit the bottom, not the top. A rack sized to the rim will jam halfway down. This is the single most common measuring mistake we hear about.
Step 4: Measure Cooler Interior Height With the Lid Closed
Close the lid and measure from the inside floor to the underside of the lid. That is your true cooler interior height.
Do not measure with the lid open. Lids often have recessed panels or raised sections that eat an inch or more of vertical space. Cooler Racks™ racks stand 7 inches tall, so you want at least that much clear height, plus a little breathing room.
Step 5: Check Drain Plugs, Hinges, and Lid Latch Intrusions
Run your hand along the inside walls. Feel for anything that pokes in: a drain plug housing, hinge hardware, a latch post, or a molded ledge.
Measure how far each one intrudes and subtract it from your width or length. A plug that juts in half an inch can stop a rack from sitting flat. Note the location too, since a rack leg may need to avoid that spot.
Step 6: Measure Irregular and Tapered Shapes
Some coolers have rounded corners, sloped ends, or a wheel hump inside. Measure across the widest flat span, then measure the narrow gap between the intrusions.
Sketch a simple top-down outline on your notepad. Mark the corners and any bumps. That sketch tells you more at the store than a column of numbers ever will.
Step 7: Confirm Clearance Before You Buy
Add up what you have: top length and width, bottom length and width, clear height, and intrusion depths. Now compare those against the rack's listed size.
Leave a small margin. If you are unsure whether a specific rack suits your model, our guide on whether cooler racks fit all coolers walks through compatibility, and owners of older Igloo models can follow the fit walkthrough for older Igloo coolers.
Fill-In Measurement Checklist
Copy this list onto your notepad and fill it in as you go. Every line should end in a number to the nearest eighth of an inch.
- Model number: __________
- Top interior length: __________
- Top interior width: __________
A common pattern is to fill in the top numbers first, then discover the bottom is narrower by half an inch or more. That is why the checklist puts bottom measurements before height, the smallest rectangle wins.
Installation Sequence After You Buy
Once the rack is in hand, install it in this order so you do not have to redo a step:
- Dry-fit the rack in the empty cooler. Set it in without fasteners and press down gently. It should rest on the floor, not wedge at the rim.
- Check the lid closes fully. Close the lid and look for a gap at the seal. If the lid will not seat, the rack is too tall for your clear height.
- Mark leg or foot positions. Use a pencil to trace where each leg or foot contacts the cooler floor, then lift the rack out.
- Clear the contact points. Wipe the floor dry and confirm no drain plug housing or molded ledge sits under a marked spot.
- Set and secure the rack. Lower it back into place and follow the maker's fastening or tension instructions. Do not overtighten plastic-threaded hardware.
- Load a test batch. Add a few items and close the lid again. Listen for rattles and check that the rack does not rock.
The dry-fit costs two minutes and catches most fit problems before any hardware goes in.
Cooler Interior Height: How Much Room Your Food Needs
Clear height decides what you can stack above the rack. A 7-inch elevation holds sandwich containers, produce bags, and most food boxes.
Measure the height at the center of the cooler, not just the edges.
Then think about your actual load. If you routinely pack tall bottles upright, height is your limiting number. If you pack flat containers, length and width matter more.
Height Also Sets Your Load Limit
Clear height is not just about what fits, it caps how much weight the rack and cooler floor carry. A rack that sits 7 inches off the floor raises the center of gravity of everything above it.
Estimate your loaded weight before you trust a rack:
- A full 12-ounce can weighs about 13 ounces with the can.
- A gallon of water weighs roughly 8.3 pounds.
- Ice adds about 7.5 pounds per gallon of volume.
Add the rack's own weight, then compare the total against the rack maker's stated capacity. If the maker does not publish a capacity, treat that as a caution sign and keep the load modest.
Forces Underway Change the Math
A cooler that sits still in a garage sees only gravity. On a moving boat it sees vibration, side-to-side roll, and sudden stops.
A few practical rules follow from that:
- Keep heavy items low and centered over the rack footprint, not cantilevered past an edge.
- Leave a little vertical clearance so the lid can flex without pressing on tall items.
- Recheck fasteners after the first few trips; vibration loosens hardware that felt tight on land.
Manufacturer load limits are the ceiling, not the target.
Watch out: a rack loaded past its rating can strain the cooler floor and fasteners. If your planned load exceeds the rack's published capacity, choose a larger rack or split the load between two coolers.
Cooler Rack Size Guide: Matching Rack Dimensions to Your Measurements
Match the rack's footprint to your smallest measured rectangle, then check height. That is the rule, in one line.
The two Cooler Racks™ models give you a simple starting point:
| Rack Model | Footprint | Height | Best For |
|---|---|---|---|
| CR-SS-10 | 10 x 11 in | 7 in | Smaller coolers, half-filled loads |
| CR-SS-15 | 15 x 11 in | 7 in | Larger coolers, full-family loads |
| Both together | 15 x 22 in or 10 x 22 in | 7 in | Wide coolers, big trips |
Both models fold flat for storage and use a 2 x 2-inch grid that lets loose ice fall through. If you want to see how these sizes line up against common cooler footprints, our cooler rack size guide lays out the options side by side.
Cooler Insert Dimensions: What Else Changes the Fit
Inserts, baskets, and dividers all steal space from the rack. Measure them the same way you measured the cooler, then subtract.
Three things change the math:
- Basket lips overhang the sides and reduce usable width at the top
- Divider slots create narrow channels a rack leg cannot straddle
- Molded cup holders in the lid reduce clear height in specific spots
If you are weighing an insert instead of a rack, our guide to cooler inserts for dry storage covers how insert dimensions affect the overall fit.
Common Measuring Mistakes That Cost You a Return
The top mistake is measuring the outside of the cooler. The walls are thick, and the difference is often an inch or more per side.
Others we see often:
- Measuring with the lid open and missing the lid's recessed panel
- Reading the tape at an angle instead of straight across
- Forgetting the drain plug housing
Watch out: measuring a tapered cooler at the rim and buying to that number is the fastest route to a rack that jams halfway in. Measure the bottom first, and let the smaller number win.
Check Your Numbers Against the Cooler Racks Fit List
Write your four numbers on the cooler itself with a pencil: top length, top width, bottom length, bottom width.
Then check them against a published fit list before you order.
Measuring takes ten minutes. A return takes a week. Do the ten minutes.
At Cooler Racks™, we build folding 304 food-grade stainless steel racks that hold food above the ice and melted water, so sandwiches stay dry and drinks stay cold underneath.
Frequently Asked Questions
Do cooler dimensions refer to the inside or outside?
Manufacturer specs usually list exterior dimensions, which include the walls, lid, handles, and lid latch hardware. Interior dimensions are usually smaller than the listed exterior dimensions. For fitting a rack, shelf, or divider, only the interior numbers matter. Measure the inside yourself with a tape measure rather than relying on the box or product page, and write down length, width, and depth separately.
How much clearance should a cooler rack have?
Leave at least 1/4 to 1/2 inch of clearance on each side of the rack so it drops in without scraping the cooler walls and lifts out without force. Also confirm the rack legs sit flat on the cooler floor, not on a raised drain channel or molded ridge. For Cooler Racks models, the CR-SS-10 measures 10 x 11 x 7 inches and the CR-SS-15 measures 15 x 11 x 7 inches, so your interior width and length need to exceed those figures with room to spare.
How do I measure cooler interior height with the lid closed?
Place a straightedge across the top rim of the cooler, then measure from the cooler floor up to the underside of that straightedge. This gives the true usable cooler interior height, because it accounts for any lid insulation that dips into the opening. If you plan to stack food on a rack, subtract the rack's elevation, which is 7 inches on Cooler Racks models, to see how much headroom remains for containers.
Should I measure a cooler at the top or bottom?
Measure both. Many hard-sided coolers taper, so the bottom is narrower than the top rim. A rack that fits the top opening can jam halfway down, and one sized to the bottom may slide around once loaded. Record the top length and width, the bottom length and width, and the narrowest point in between. Size the rack to the narrowest measurement, then check that it still leaves usable space around the edges.
