

7 Camping Meal Prep Tips for Beginners
Quick Summary
Camping meal prep means doing most of your cooking, chopping and packing at home so the campsite stays simple. Plan your meal count around trip length, choose easy recipes, and portion ingredients before you leave. Keep cold food at or below 40°F to stay safe.
- Plan one meal count per day, including the first lunch and last breakfast.
- Portion rice, oats and spices into labeled zip-top bags before the trip.
- Pack raw meat in sealed, leakproof containers on the cooler's bottom layer.
- Freeze make-ahead meals like chili so they double as extra ice.
- Keep shelf-stable no-cook backups in a dry bag for emergencies.
Table of Contents
- Why Camping Meal Prep Saves Time and Stress
- Tip 1: Plan Your Meals Around Trip Length
- Tip 2: Choose Easy Camping Meals for Beginners
- Tip 3: Build a Shopping List and Portion Ingredients
- Tip 4: Prep Vegetables, Proteins, and Spices at Home
- Tip 5: Use Make-Ahead Camping Meals to Cut Campsite Cooking
- Tip 6: Pack Food in Reusable Containers and Learn How to Pack a Cooler for Camping
- Tip 7: Keep Food Safe with Temperature Control and No-Cook Backups
- Frequently Asked Questions
7 Camping Meal Prep Tips for Beginners
Last Updated: November 1, 2026
Why Camping Meal Prep Saves Time and Stress
Camping meal prep means doing most of your cooking, chopping and packing at home so the campsite stays simple. A well-prepped trip starts long before you load the truck. The less you improvise at the picnic table, the more time you have for the trail, the lake or the fire.
Without a plan, most campers spend their first evening digging through a cooler, hunting for ingredients and washing dishes in the dark. Prep shifts that work to your kitchen counter, where you have space, water and time. Campsite cooking then becomes reheating, assembling and eating.
Food stays safer and easier to manage, too. When meals are portioned and packed in labeled containers, you know what you have, what needs to be eaten first and what can stay sealed until the last day.
Tip 1: Plan Your Meals Around Trip Length
Plan your meal count before you shop. A two-night trip needs far fewer breakfasts, lunches and dinners than a week in the backcountry, and overpacking food is one of the most common beginner mistakes. Write down every meal and snack for each day, including the first lunch after you arrive and the last breakfast before you drive home.
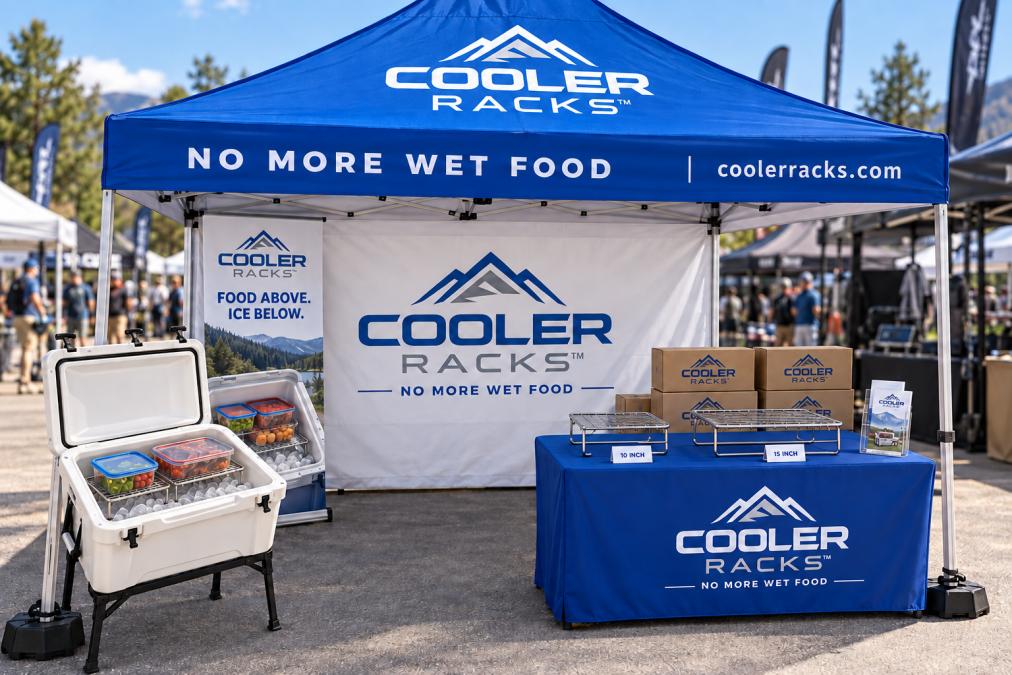
Trip length also decides how much cold storage you need. Short trips can rely on a single cooler with a rack, while longer trips may need a second cooler for drinks and perishables. Our compact rack suits a small weekend setup, while the full-size or double-rack systems give more room for multi-day menus.
Tip 2: Choose Easy Camping Meals for Beginners
Start with simple meals that need few ingredients and little cleanup. Foil packets, wraps, pasta with a single sauce and sandwiches are reliable choices for a first trip. Complicated recipes with many steps tend to fail when you are cooking on a small stove in the wind.
Pick meals you have already cooked at home. A recipe you know well is far easier to reproduce on a camp stove with limited tools. Save the ambitious dishes for your second or third trip, once you know how your stove and cooler behave.
Tip 3: Build a Shopping List and Portion Ingredients
Build your shopping list directly from your meal plan, grouping items by category: produce, proteins, dairy, dry goods and condiments. This keeps you from buying duplicates and forgetting staples like cooking oil or coffee.
Portion ingredients at home instead of carrying full packages. Measure rice, oats and spices into small zip-top bags labeled with the meal and the day. Portioning cuts waste, saves cooler space and means you never need to measure at the campsite.
Tip 4: Prep Vegetables, Proteins, and Spices at Home
Chop vegetables, marinate proteins and pre-measure spices before you leave. Learn how to keep produce fresh while camping. Doing this in your own kitchen, with a full set of knives and a sink, is far easier than doing it on a picnic table. Store chopped vegetables in sealed containers, and marinate meat in a leakproof bag so juices stay contained.
Keep food safety in mind during prep. Raw meat should be packed separately from ready-to-eat items and kept at a safe temperature throughout the trip. Cook proteins fully and cool them quickly before packing them into the cooler.
Tip 5: Use Make-Ahead Camping Meals to Cut Campsite Cooking
Make-ahead meals are one of the simplest ways to cut campsite work. Chili, stew, burritos and breakfast casseroles can be cooked at home, cooled and frozen or refrigerated before the trip. Browse camping recipes that fit a small cooler. At camp, you simply reheat them, which saves fuel and time.
Freeze some make-ahead meals solid. A frozen chili or stew acts as an extra ice source inside the cooler and thaws gradually over the first days of the trip. Keep a note of reheating instructions on each container so anyone in your group can prepare a meal.
Tip 6: Pack Food in Reusable Containers and Learn How to Pack a Cooler for Camping
Packing is where most beginner meal-prep plans succeed or fall apart. The goal is simple: keep cold food cold, keep raw juices away from ready-to-eat food, and make the cooler easy to open and close without a full excavation.
Start with the right containers. Use reusable, leakproof containers with tight lids for anything liquid or saucy, and reserve zip-top bags for dry goods and pre-measured ingredients. Clear containers beat opaque ones because you can see what you have without opening the lid.
Pack in temperature zones. See the full step-by-step road trip cooler packing method. A hard-sided cooler works best when you treat it like a small refrigerator with layers:
- Bottom layer: block ice or frozen water bottles, plus raw meat and poultry in a sealed, leakproof container. Raw proteins go at the bottom so any drip cannot reach food below.
- Middle layer: dairy, cooked make-ahead meals, and anything that must stay coldest.
- Top layer: ready-to-eat items, produce, sandwiches, and snacks you will reach for often.
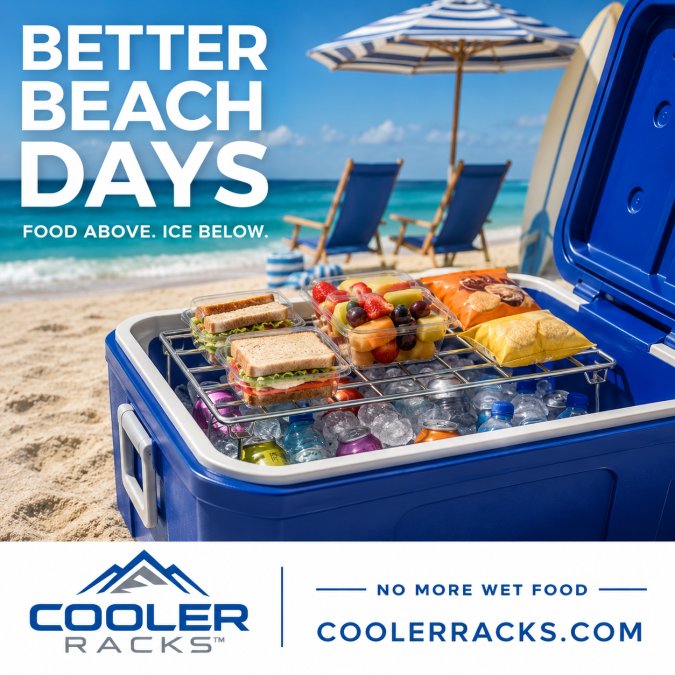
If your cooler has a rack, use it to lift ready-to-eat food above the ice and meltwater. A rack with a grid pattern lets loose ice and water drain downward, so sandwiches and produce can stay above the meltwater. Keep drinks in a separate cooler or in a dedicated bottom section, because every time someone opens the food cooler for a soda, cold air escapes.
Use the right ice strategy. Block ice melts more slowly than cubed ice and keeps a cooler cold longer, which matters on multi-day trips. Pre-chill the cooler with a bag of ice the night before you load it, then dump that ice and reload with fresh ice and food. Frozen make-ahead meals double as extra ice and thaw over the first day or two.
Pack by cooking order, not by category. Load the cooler so the meals you eat first are on top and the meals for later days are buried at the bottom. This reduces how long the lid stays open and keeps you from digging through the whole cooler at every meal.
Separate food and drinks. If you have room for a second cooler, dedicate it to drinks and frequently accessed snacks. The food cooler then stays closed between meals, which is the single easiest way to extend ice life and keep temperatures stable.
Here is a quick reference for how to layer the cooler, using the placement and ice guidance from this section.
| Cooler layer | What goes there | Why |
|---|---|---|
| Bottom | Block ice or frozen water bottles, raw meat and poultry in sealed containers | Keeps raw juices from dripping onto food below |
| Middle | Dairy, cooked make-ahead meals | Holds the coldest temperature |
| Top | Ready-to-eat items, produce, sandwiches, snacks | Reached often, stays above meltwater |
| Separate cooler | Drinks and frequently accessed snacks | Keeps the food cooler closed between meals |
Tip 7: Keep Food Safe with Temperature Control and No-Cook Backups
Food safety is the part of camping meal prep beginners underestimate most. Food safety guidance from U.S. agencies generally treats 40°F as the upper limit for safe refrigeration of perishable food. At camp, your job is to keep cold food at or below 40°F and to limit how long perishable food sits in the danger zone between 40°F and 140°F.
Temperature control in practice. Pre-chill your cooler and everything going into it, including containers of make-ahead meals, before you load. Use block ice or frozen water bottles rather than loose cubed ice where you can, and keep the cooler in the shade rather than in a hot trunk or direct sun.
Watch the clock on perishables. Perishable food should not sit out at room temperature for extended periods; check current U.S. food safety guidance for specific time limits. At camp, that means pulling out only the ingredients for the current meal, then putting everything back. Do not leave the cooler lid open while you cook.
Prevent cross-contamination. Raw meat, poultry, and seafood should be packed in sealed, leakproof containers and kept below ready-to-eat food so drips cannot travel downward. Follow this step-by-step guide to keeping meat cold while camping.
Cool cooked food fast before packing. When you make chili, stew, or a breakfast casserole at home, cool it quickly rather than leaving it on the counter. Spread it in shallow containers, refrigerate uncovered until it stops steaming, then seal and refrigerate or freeze. Pack it cold, not warm, so it does not raise the temperature inside the cooler.
Plan no-cook backups. Even a well-packed cooler can run low on ice, and a camp stove can fail in wind or rain. Keep a separate dry bag of shelf-stable, no-cook options: nut butter packets, tortillas, canned fish or chicken, dried fruit, nuts, crackers, and instant coffee.
Pack out what you pack in. Bring reusable containers home rather than leaving disposable packaging at the campsite, and store food scraps in a sealed bag until you can dispose of them properly. Keeping scraps contained also keeps wildlife out of your camp, which protects both your food and the animals.
Frequently Asked Questions
How do beginners plan meals for a camping trip?
Start by counting days and meals, then write a simple menu with one hot dinner, one easy breakfast and a no-cook lunch each day. Keep the menu to three or four repeatable meals so you buy less and waste less. Note which meals need a stove, which need a cooler, and which can be eaten cold. Build your shopping list from that menu, then check quantities against the number of people and their appetites. Pre-plan a backup meal for rainy days in case cooking outdoors becomes impractical.
What food should I prep before a camping trip?
Prep anything that takes time or mess at home: chop vegetables, portion meat or plant proteins, mix marinades, pre-measure spices into small labeled bags, and cook grains or beans that can be reheated. Make sauces and dressings ahead so they only need to be poured. Keep raw meat sealed and separate from ready-to-eat foods. Store prepped items in zip-top bags or reusable containers so they are ready to load into the cooler. Label everything with the day it is meant for.
How do you pack food in a cooler for camping?
Pack raw meat at the bottom in leak-proof bags, with ice or block ice around it. Put drinks in a separate cooler when possible because they are opened more often, which lets warm air in. In a single cooler, use an elevated rack so sandwiches, produce and ready-to-eat items sit above the ice and meltwater, while drinks stay cold below. Pack items in the order you plan to use them, and keep the lid closed as much as possible. The CR-SS-15 Full Size Cooler Rack ($34.99) elevates food 7 inches above the bottom of the cooler.
How long does food stay cold in a camping cooler?
Cooling time depends on the cooler, the amount and type of ice, outside temperature and how often the lid is opened. Block ice generally lasts longer than cubed ice because it melts more slowly. Pre-chill the cooler and the food before packing. Keep the cooler in shade and check food temperatures with a thermometer. Keep perishable food cold and check current U.S. food safety guidance for specific time and temperature limits.
Ready to organize your cooler for your next trip? Explore Cooler Racks™ options, including the Full Cooler System (25″) and the Double Cooler Rack Setup (20″) for keeping food above ice and drinks below.

